
Guide · Tools · Workbench
The 5 programs that cover the whole ESP32 workflow
A maker's software bench is surprisingly small. Five free programs cover everything from the first blink to a manufactured PCB — and each one is the best at exactly one job. Here's what to install, when to reach for each, and the one browser tool that replaces a schematic editor for wiring diagrams.
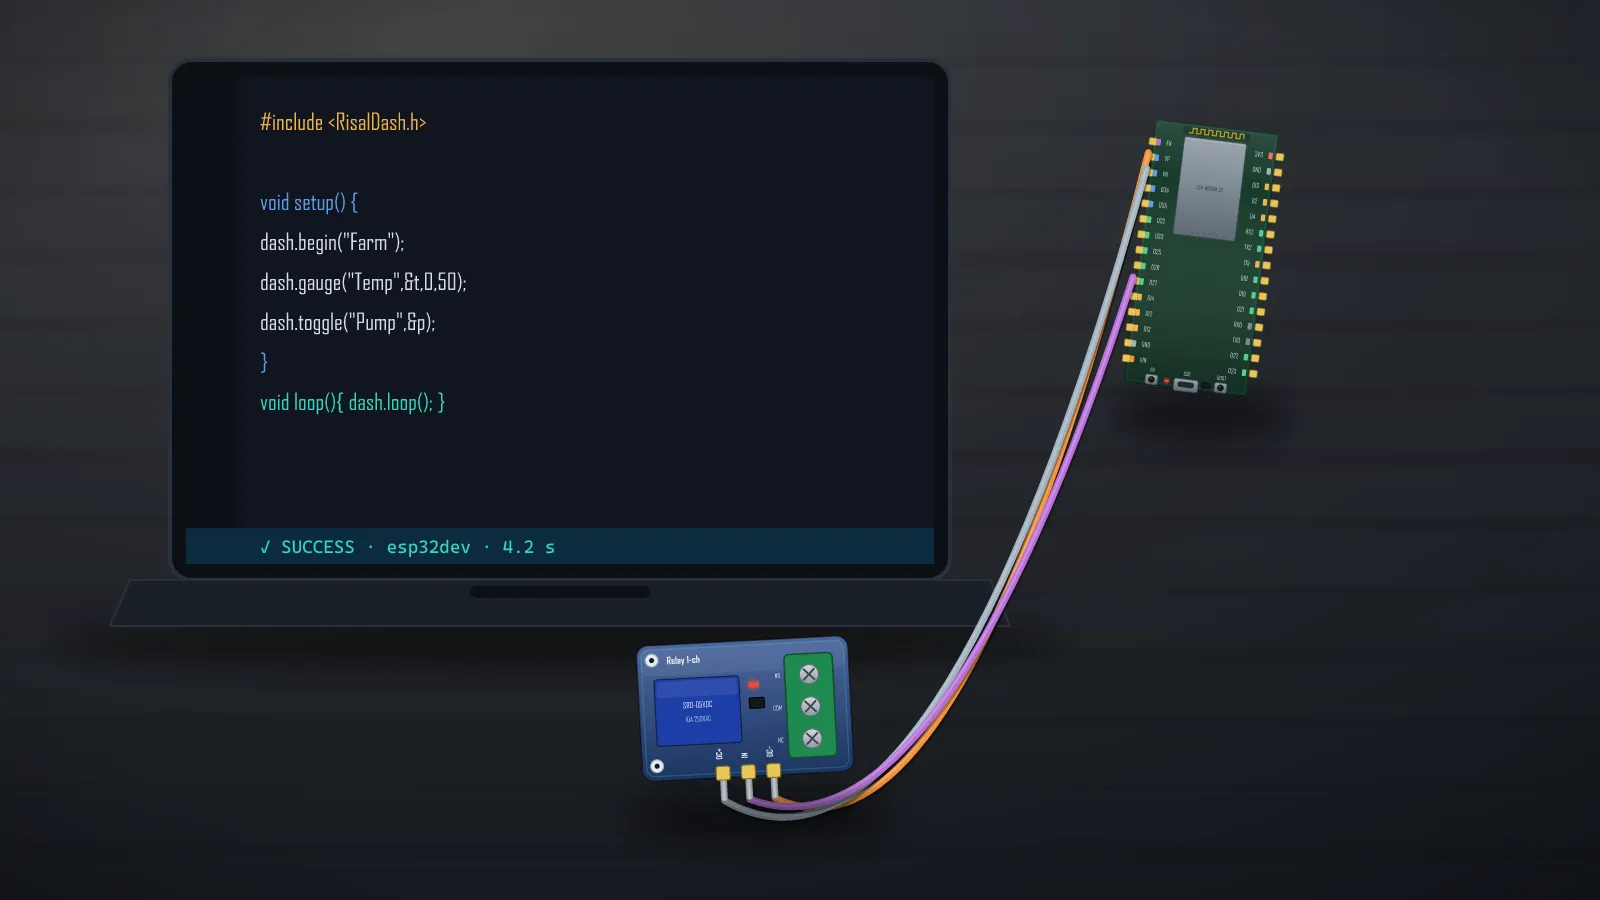
1. Arduino IDE 2 — where everyone starts
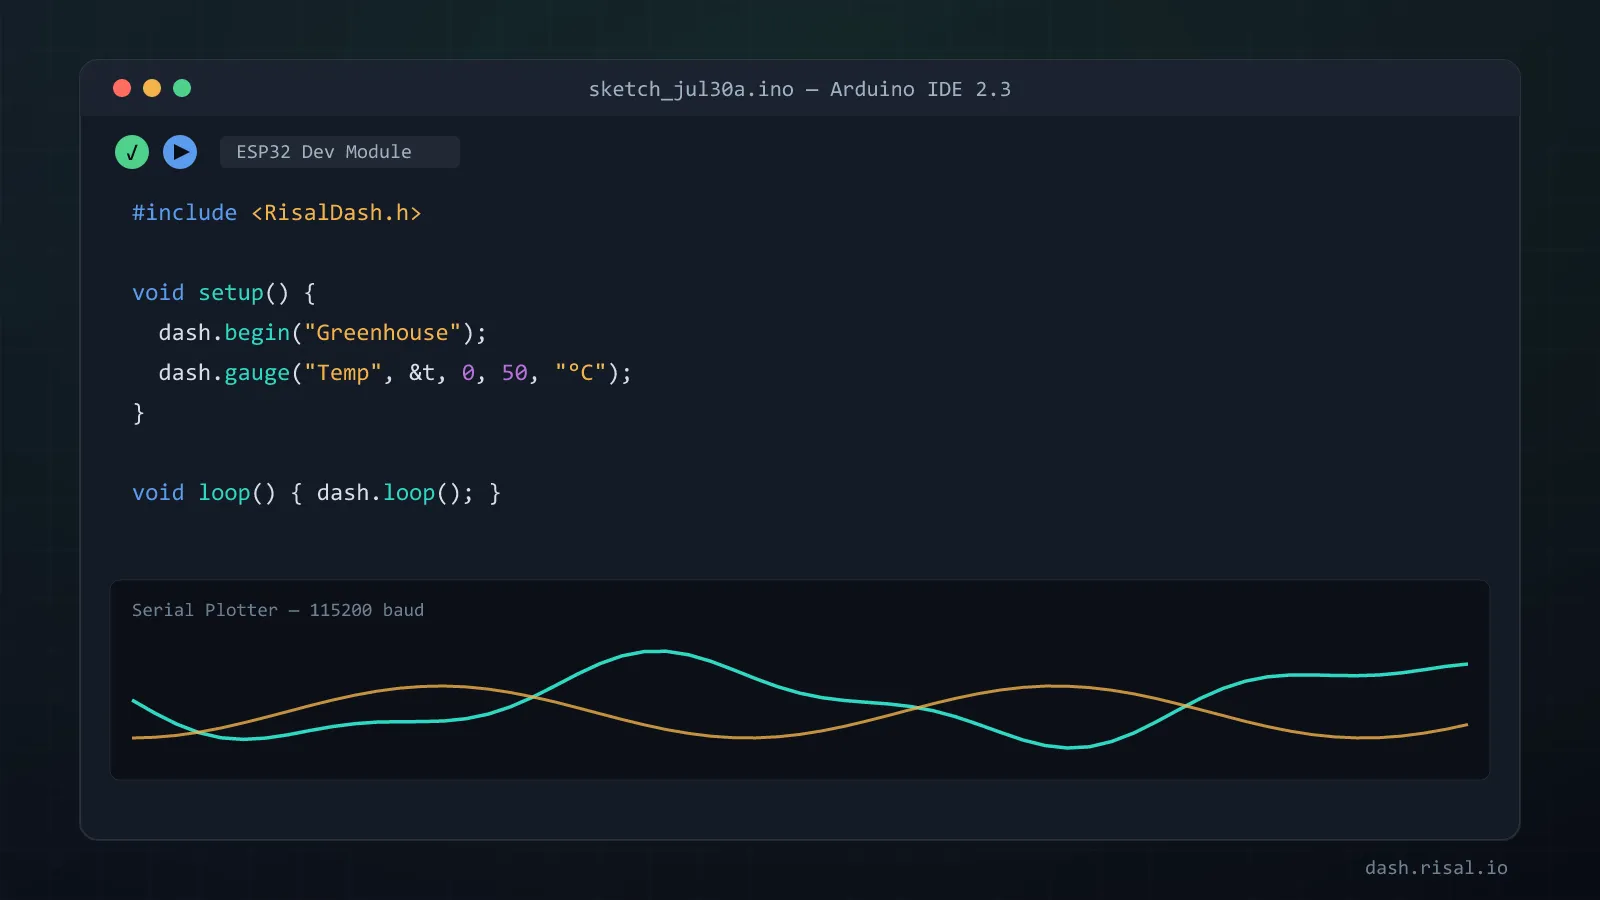
The classic, rebuilt: the 2.x IDE finally has autocomplete, a debugger and a dark theme on top of the familiar one-click flash. The Boards Manager pulls in ESP32/ESP8266 support in a minute, the Serial Plotter graphs sensor values live, and every tutorial on the internet assumes it. Its limit is project scale — one sketch, global libraries — which is exactly where the next tool takes over. Best for: first steps, quick sketches, following tutorials.
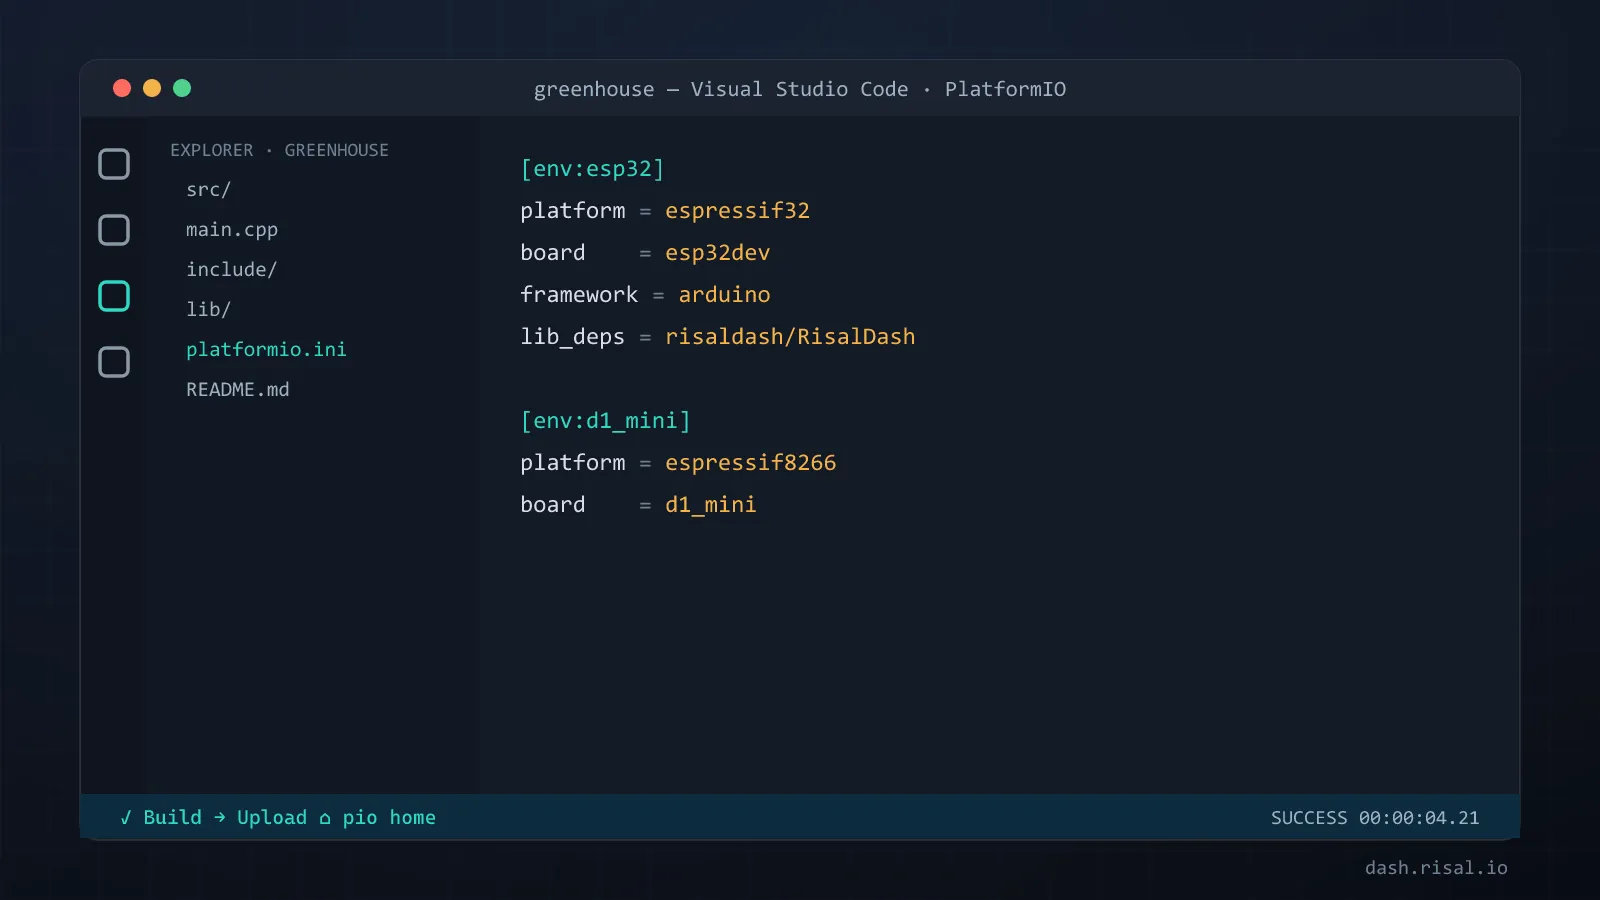
2. VS Code + PlatformIO — the pro daily driver
PlatformIO turns VS Code into a real embedded IDE: per-project dependencies in
platformio.ini (no more global library soup), true IntelliSense, one project targeting
ESP32 and ESP8266 with different flags, unit tests and CI builds. Every
RisalDash example ships as a
PlatformIO-friendly sketch for exactly this reason: clone, build, flash — reproducibly. Best for: anything past one file — real projects,
libraries, teams.
3. Thonny — MicroPython without friction
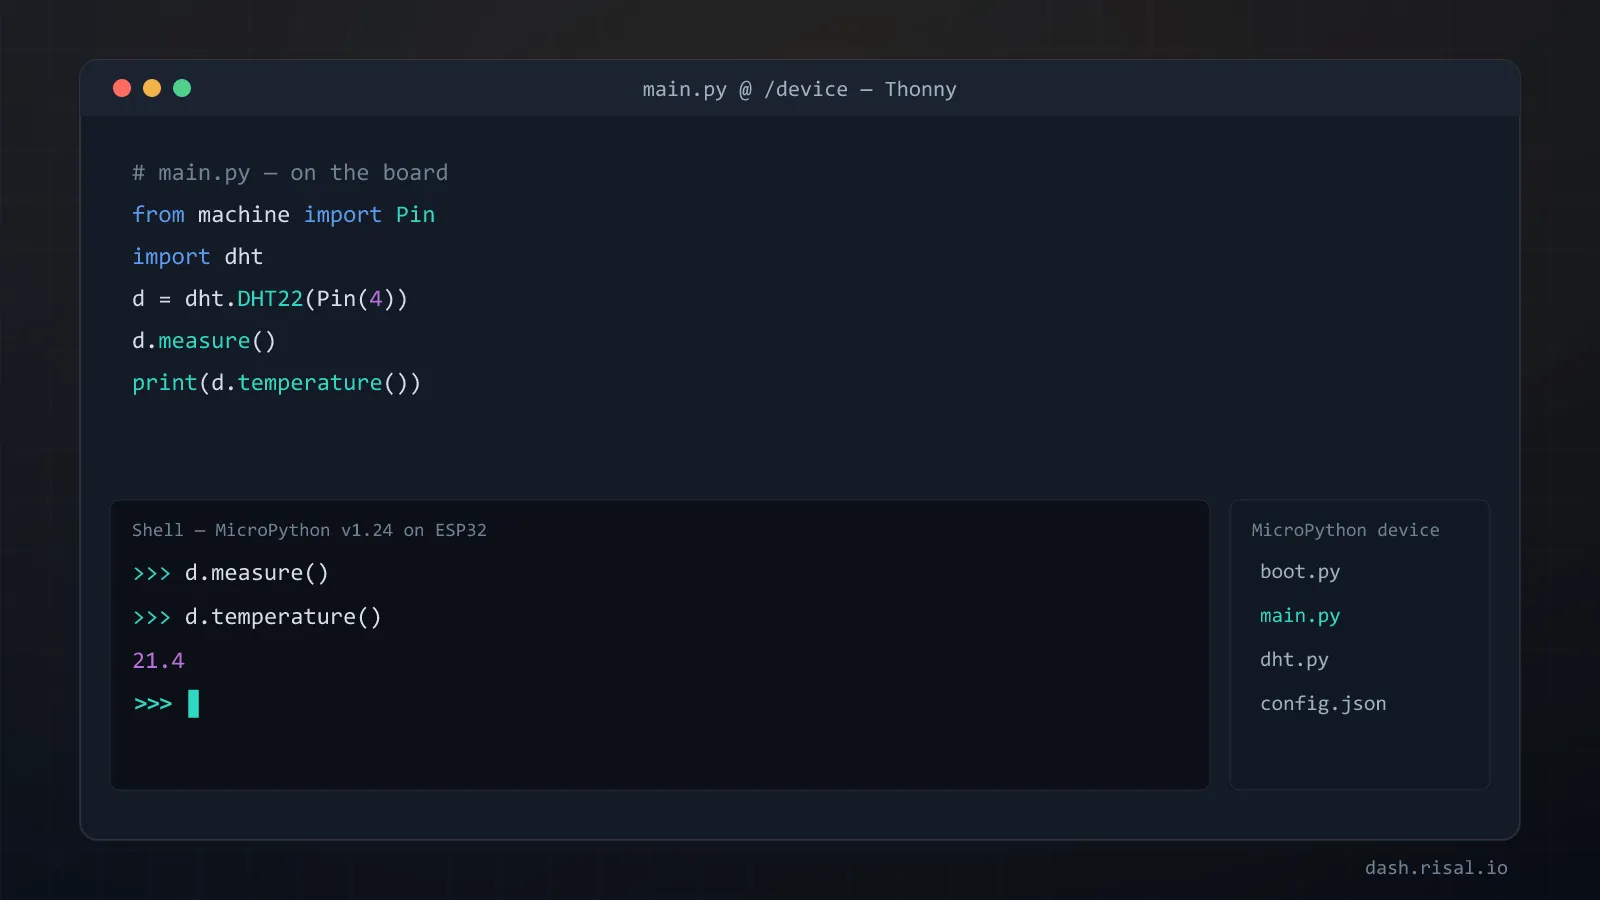
If you go the MicroPython route, Thonny is the IDE that makes it painless: it flashes the MicroPython firmware itself, gives you a REPL to poke hardware live, and shows the board's file system next to your local files — copy a script over and it runs. Zero configuration, which is the whole point of Python on a chip. Best for: learning, classrooms, instant hardware experiments.
4. KiCad — when the breadboard becomes a product
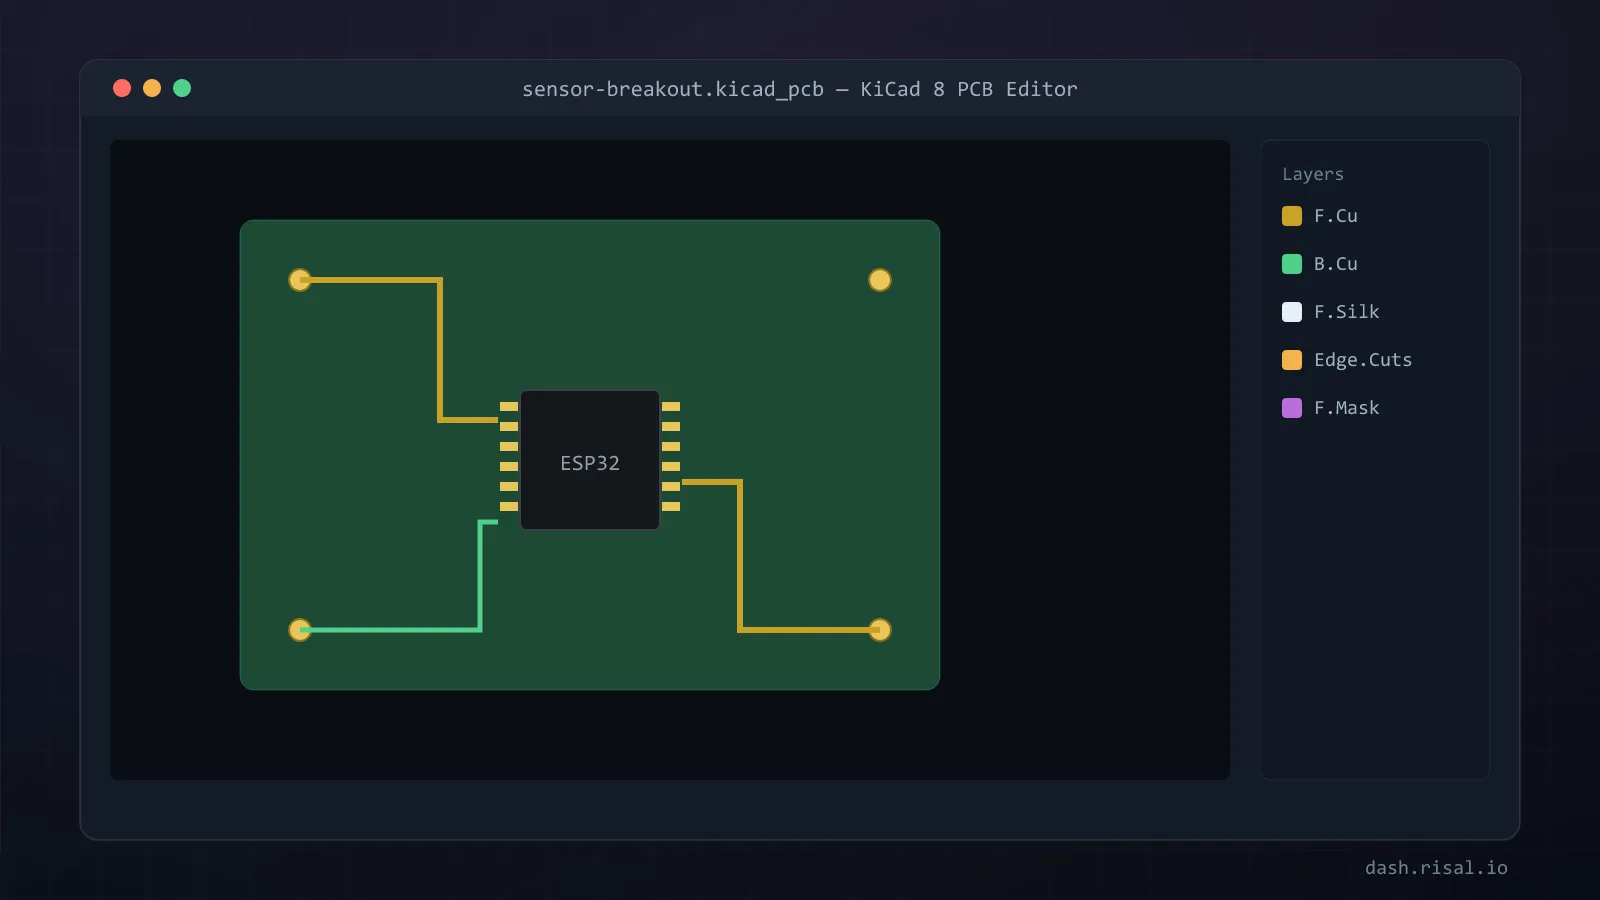
The moment jumper wires turn into "I should make a board", KiCad is the free answer: schematic capture, PCB layout with a push-and-shove router, a 3D preview of the finished board and gerber export any fab (JLCPCB, PCBWay) accepts. The learning curve is real but front-loaded — one weekend of tutorials and you can route a sensor breakout. Best for: turning a working prototype into a real PCB.
5. ESPHome — firmware you describe, not write
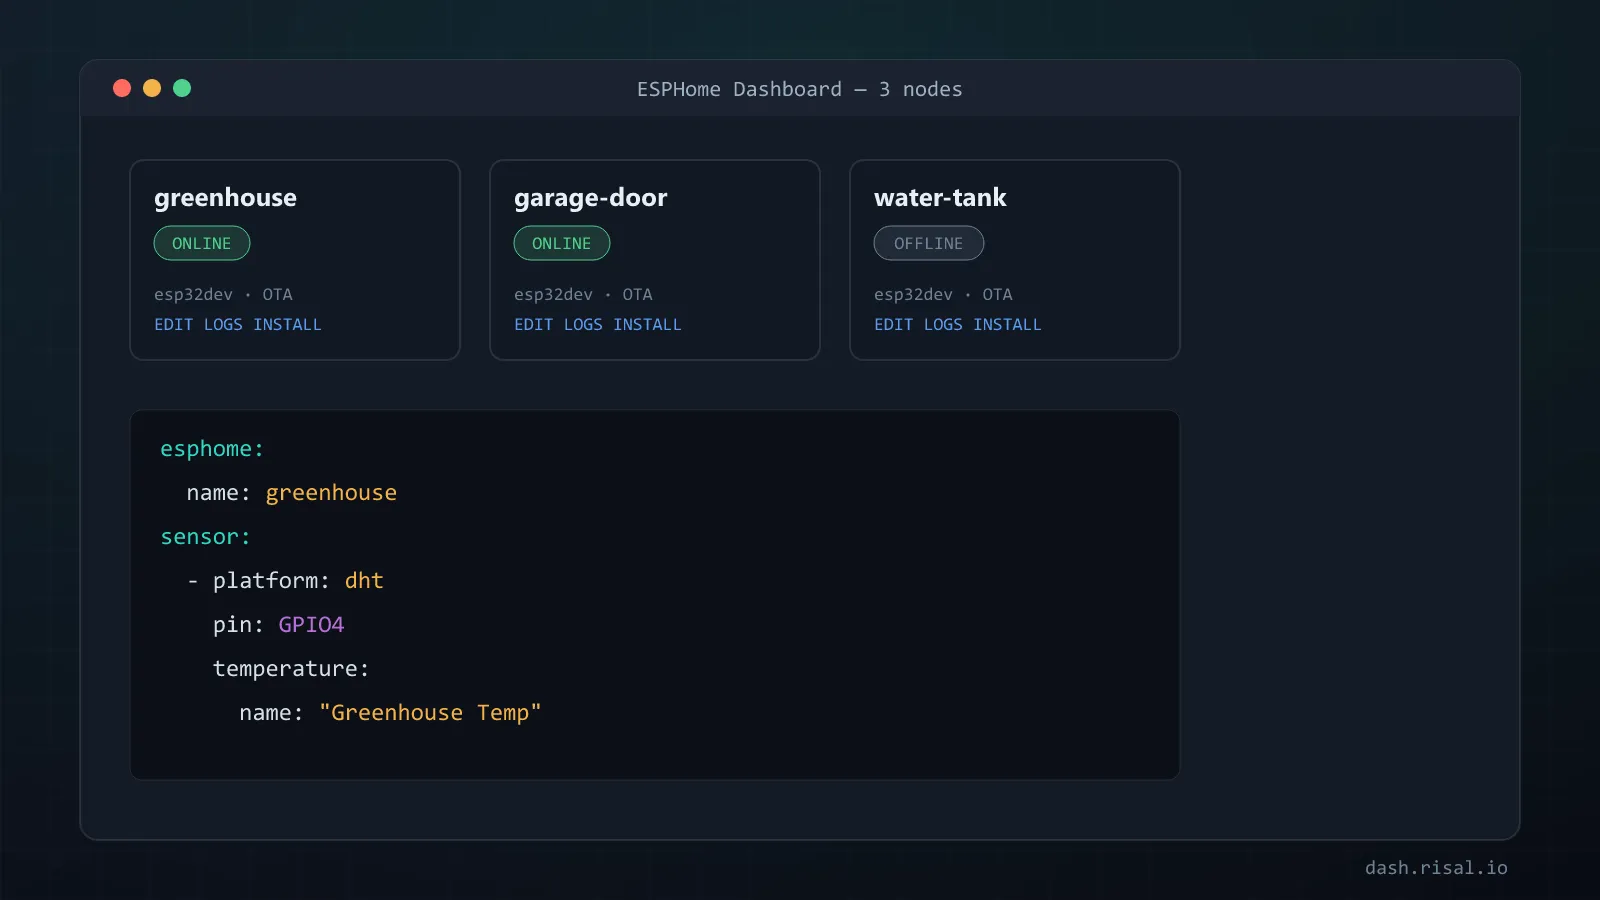
For standard smart-home nodes, ESPHome's dashboard is the shortcut: describe the device in YAML — "this pin is a relay, that one a DHT22" — and it compiles, flashes over USB or OTA, and appears in Home Assistant automatically. It runs as a web dashboard, so the whole flow lives in the browser. Step outside what its components expose and you're back to C++ — but for sensors, switches and lights it's unbeatable. Best for: Home Assistant nodes with zero code.
Bonus: BoardLab — wiring diagrams in the browser
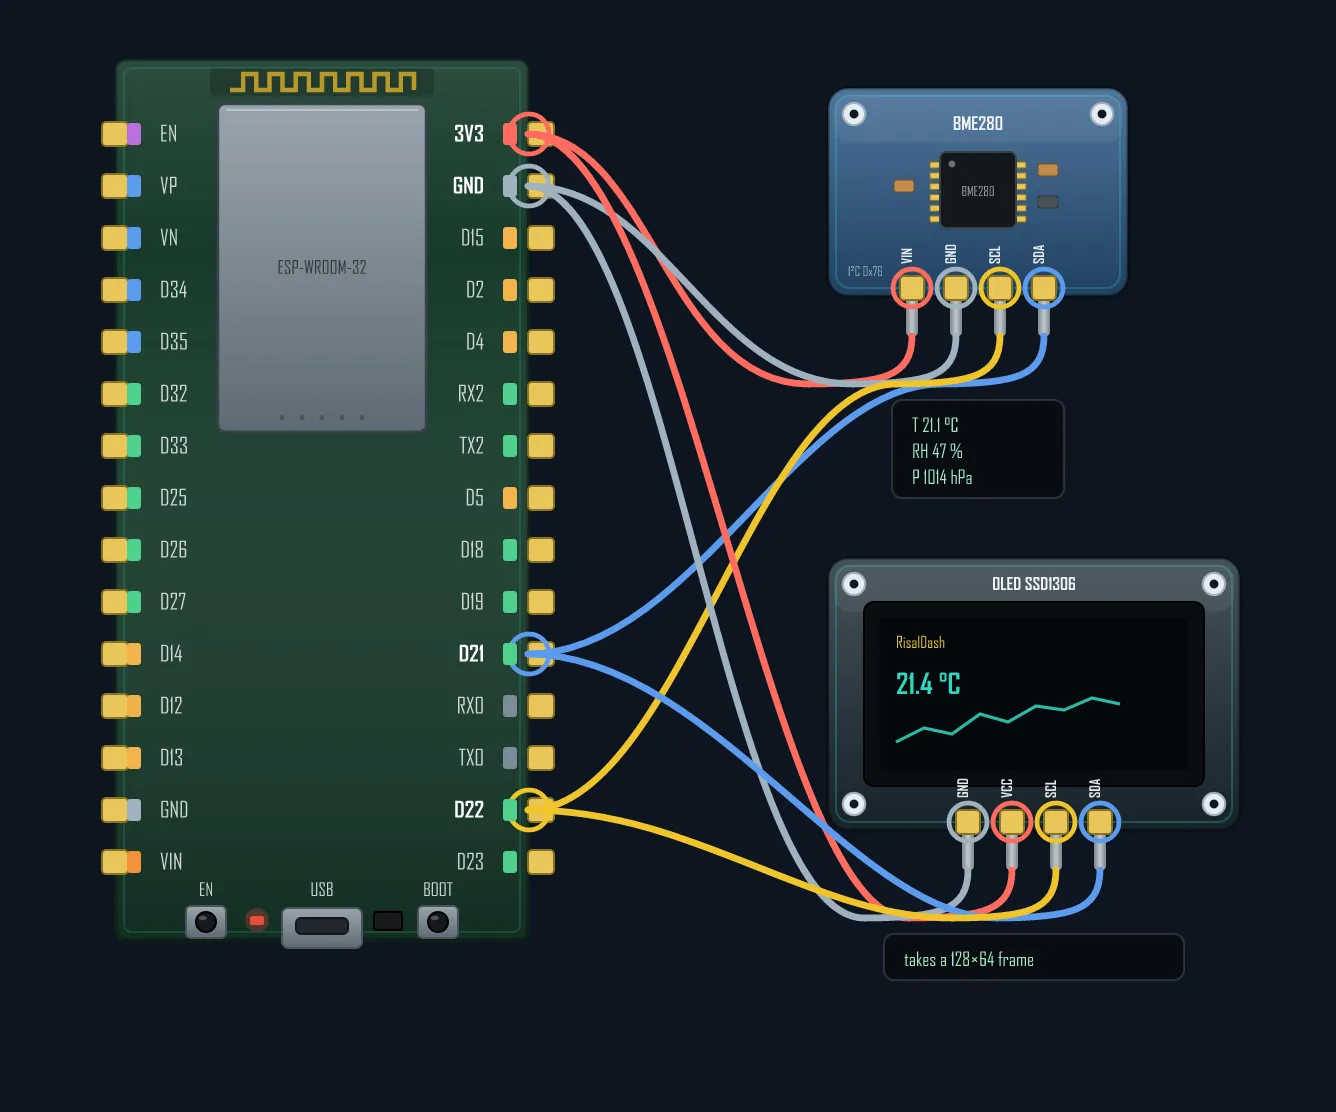
One job none of the five covers well: a clean wiring diagram before any code — which pin, which resistor, which warnings. That's why we built BoardLab, free in the browser: pick a board (ESP32, ESP8266 and more), add modules from a catalog of 58 realistic parts — sensors, displays, relays — and it routes the wires, flags strapping-pin traps and exports a PNG for your notes or blog. All the diagrams in this blog are made with it.
The 30-second decision
| Program | Best at | Cost | Learning curve |
|---|---|---|---|
| Arduino IDE 2 | first steps, tutorials | free | none |
| VS Code + PlatformIO | real projects, CI, teams | free | medium |
| Thonny | MicroPython, learning | free | none |
| KiCad | schematics → real PCBs | free | steep, front-loaded |
| ESPHome | Home Assistant nodes | free | gentle (YAML) |
Realistic setup: Arduino IDE 2 for week one, then move to PlatformIO and stay there; add Thonny if Python tempts you, KiCad when a project graduates to a PCB, and ESPHome for the house. All five are free — the only real cost is disk space.
Writing C++ anyway? RisalDash gives your sketch a full web dashboard from a few lines.