
Guide · Motors · Drivers
Five motors, five jobs — pick the right one
Every moving project asks the same first question: which motor? The honest answer is that there are only five you'll actually meet — servo, stepper, brushed DC, geared TT and brushless (BLDC) — and each one wins a different job. Here's what drives what, the driver board each needs, working code for all five, and the wiring rules that keep your board alive.
| Motor | Control | Driver | Wins at | Typical part |
|---|---|---|---|---|
| Servo | angle 0–180° | none (built in) | precise angles, 1 wire | SG90 · MG90S · MG996R |
| Stepper | exact steps | A4988 / DRV8825 / TMC2208 | positioning, no encoder | NEMA 17 |
| Brushed DC | speed + direction | L298N / TB6612FNG | fast spinning, cheap | RS-380/540 |
| Geared TT | speed + direction | L298N / TB6612FNG | torque at low RPM — wheels | yellow TT motor |
| BLDC | throttle via ESC | ESC (mandatory) | power + efficiency, 90–95 % | outrunner + 30 A ESC |
1. Servo — an angle on one wire
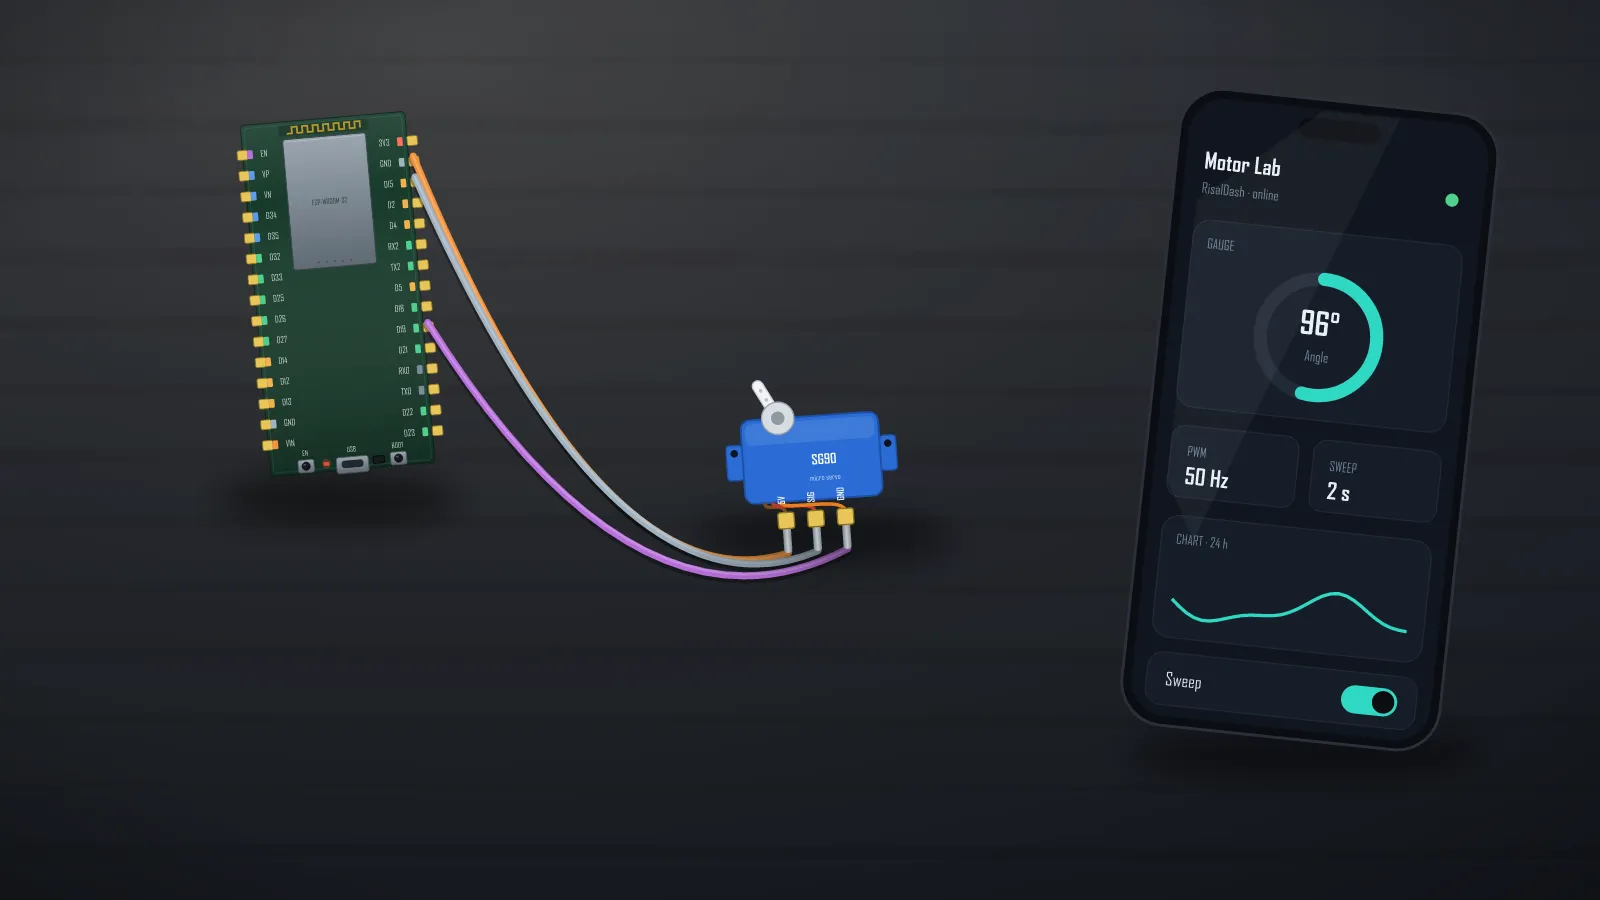
A servo packs the motor, gearbox and closed-loop control in one case: you send an angle, it goes there and holds. Robot arms, camera pans, lock latches, RC linkages. The SG90 runs from 5 V — but power more than one (or anything bigger) from its own 5 V supply, not the board pin, with grounds common:
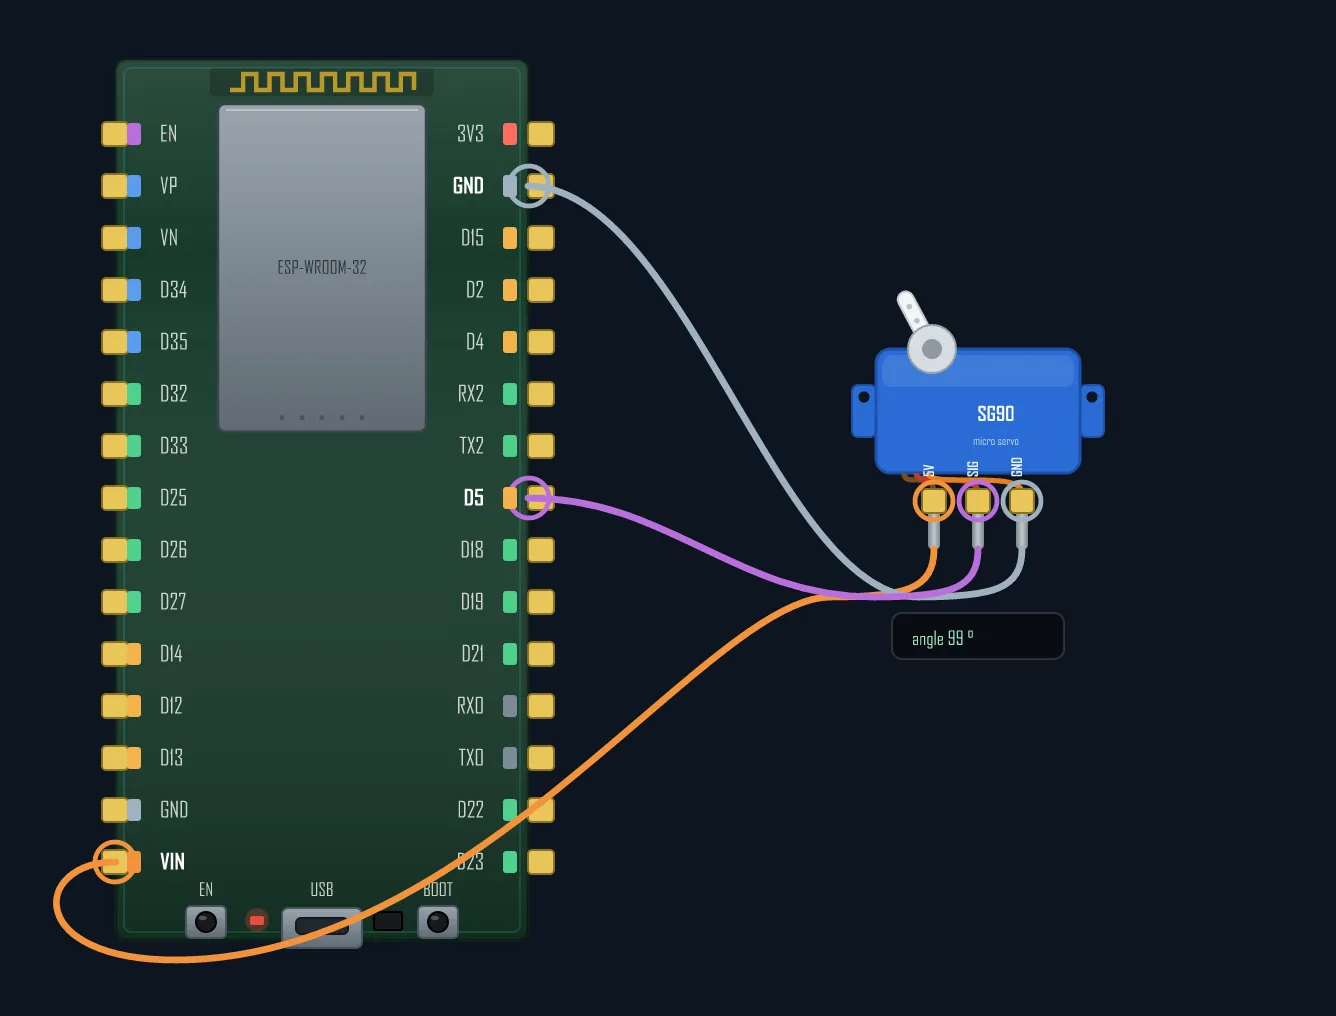
#include <ESP32Servo.h>          // Arduino UNO: #include <Servo.h>
Servo arm;
arm.attach(5);                    // one PWM pin is the whole interface
arm.write(90);                    // go to 90 degrees — that's it
2. Stepper — exact position, no encoder
A stepper moves in fixed steps (1.8° each on a NEMA 17), so it knows where it is without feedback — that's why 3D printers, CNC and camera sliders run on them. It always needs a driver (A4988/DRV8825; the TMC2208 is the silent one), a separate 8–35 V motor supply, and common ground with the board. Microstepping (MS1–MS3) smooths the motion:
#include <AccelStepper.h>        // smooth accel/decel — the go-to library
AccelStepper motor(AccelStepper::DRIVER, STEP_PIN, DIR_PIN);
motor.setMaxSpeed(800);           // steps/s
motor.setAcceleration(400);
motor.moveTo(2000);               // absolute position in steps
// loop(): motor.run();           // call every loop — non-blocking
3 & 4. Brushed DC and the geared TT — same driver, different gearing
A raw brushed motor spins fast with little torque; the yellow TT gearbox version trades speed for torque (30–300 RPM) — which is exactly what wheels want, so every budget robot car rolls on TT motors. Both are driven identically through an H-bridge: two pins pick the direction, PWM on ENA sets the speed. The L298N is the classic; the TB6612FNG does the same job cooler:
// Brushed DC / TT gear motor via L298N: direction on IN1/IN2, speed on ENA (PWM).
digitalWrite(IN1, HIGH);
digitalWrite(IN2, LOW);           // swap the two to reverse
analogWrite(ENA, 180);            // 0..255 — more duty, more speed
5. BLDC — the power tier
Brushless motors have no brushes to wear or spark, hit 90–95 % efficiency, and deliver serious power — drones, e-scooters, RC planes. The trade: they're three-phase and must have an ESC. The nice surprise is the code — an ESC listens to the same 1000–2000 µs pulses as a servo, and always arm at minimum throttle first:
// A BLDC talks to its ESC with the same 1000-2000 us pulse a servo uses.
#include <ESP32Servo.h>
Servo esc;
esc.attach(9, 1000, 2000);        // min/max pulse in microseconds
esc.writeMicroseconds(1000);      // ARM at minimum first — always!
delay(3000);
esc.writeMicroseconds(1300);      // ~30 % throttle
⚠ Match the ESC's current rating and the motor's KV to the load, and check battery voltage compatibility — a 3S LiPo is the usual starting point.
Drive them from a dashboard
All five reduce to “set a number from the UI”: a slider for servo angle or DC speed, a number for stepper position, a joystick / d-pad for a two-motor robot — all shipped RisalDash widgets, phone-controlled over the board's own Wi-Fi, and each one doubles as an MCP tool for an AI agent. The shipped GarageDoor, CNCMachine and Printer3D templates show motor UIs end to end.
The rules that save boards
Never feed a motor from the 3.3/5 V pin — motors take their own supply, the board takes its own, and only GND is common. Add flyback protection for bare DC motors (driver boards include it). And if the board resets when the motor kicks — that's a brownout; see the fix.
Sketch the motor wiring before you solder — and drive it from a phone.