
Project · Climate · Automation
A thermostat that heats and cools
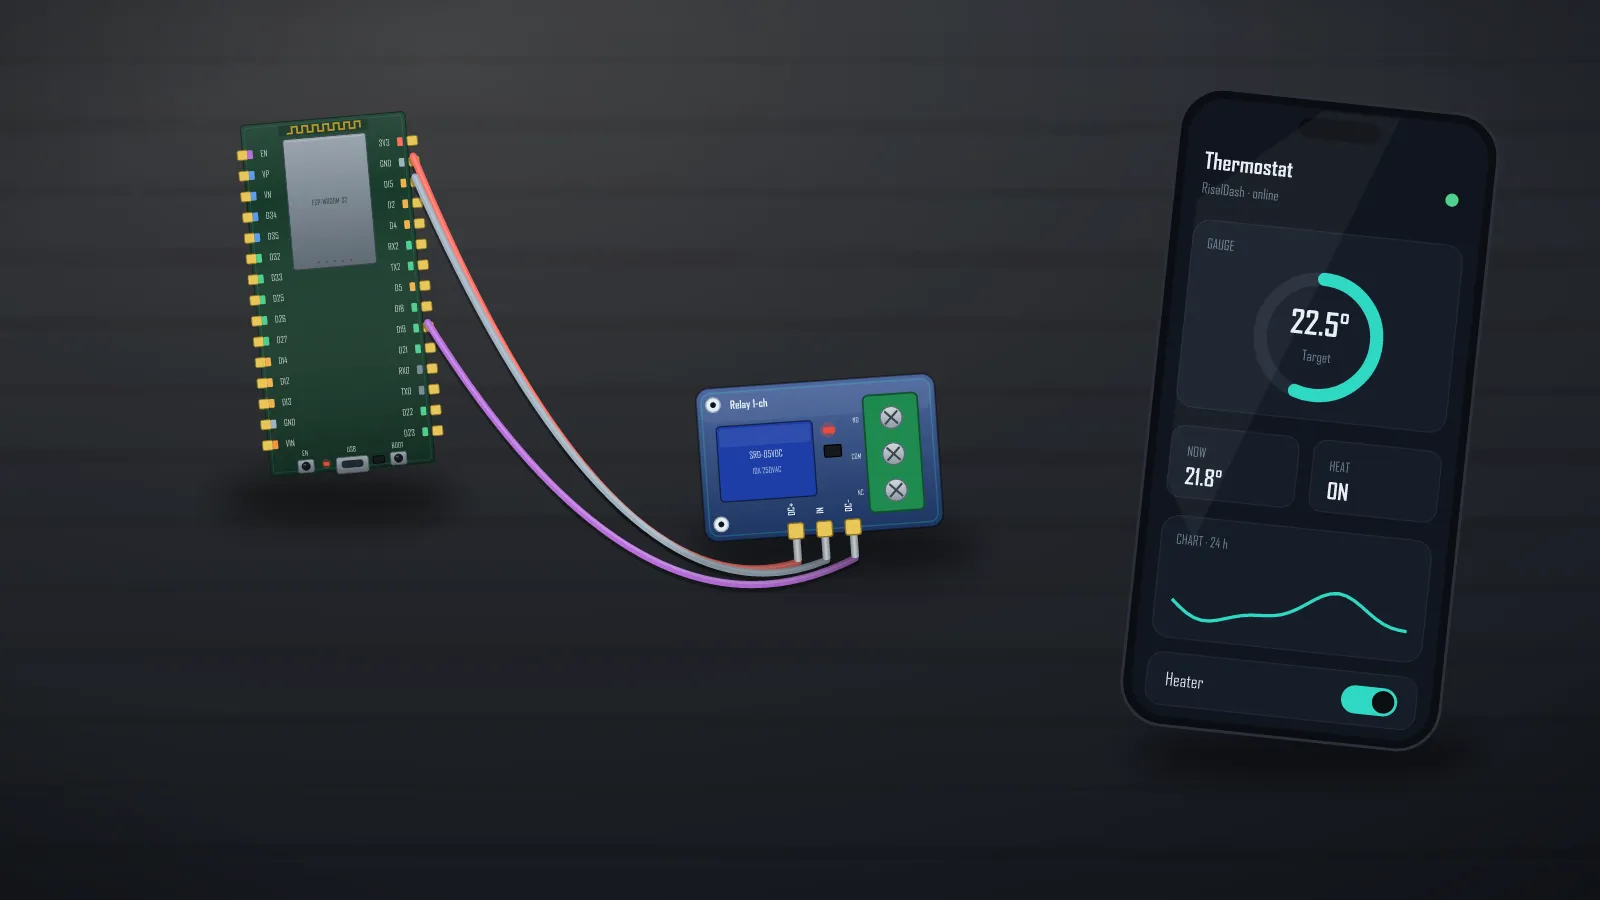
Most DIY thermostats stop at “heater on, heater off”. A room that actually feels right needs the other half too: a cooling fan that kicks in automatically when the temperature overshoots, and an overheat alert for the day the heater relay sticks. One DHT22, two relays and an ESP32 do all three — with the setpoint, history chart and an event log on a dashboard the chip serves itself.
Why hysteresis, not a plain threshold
Switch the heater at exactly the setpoint and it chatters on/off every few seconds around the boundary — relays hate that. A hysteresis band (heat below −0.3 °C, stop above +0.3 °C) makes each cycle long and calm. Auto-cooling is a second, wider band on the other side: fan on at +1.5 °C over, off once the room recovers. The overheat alert sits further out still and fires even in Hold mode, because a stuck relay doesn't care about your automation:
if (!hold) {
  // Heating hysteresis: heat below setpoint-0.3, stop above setpoint+0.3.
  if (roomT < setpoint - 0.3f) heating = true;
  else if (roomT > setpoint + 0.3f) heating = false;
  // Auto-cooling: fan on when the room runs 1.5 C past the setpoint, off on recovery.
  if (roomT > setpoint + 1.5f) { if (!fan && evlog) evlog->print("Overshoot - fan ON"); fan = true; }
  else if (roomT < setpoint + 0.5f) fan = false;
}
// Overheat alert regardless of hold: something is wrong (sun on the sensor, heater stuck).
bool hot = roomT > setpoint + 4.0f;
if (hot && !overheat && evlog) evlog->print("OVERHEAT - check the heater");
overheat = hot;
The dashboard
A live setpoint (number widget), both relay states, the alert LED and the trend chart —
the whole control panel is a dozen declarations:
dash.layout("Climate", RICON_THERMOMETER);
dash.gauge("Room temp", &roomT, 0, 40, "C");
dash.gauge("Humidity", &roomH, 0, 100, "%").variant("semi");
dash.chart("Trend", &roomT, "C");            // the history everyone wants

dash.layout("Control", RICON_POWER);
dash.number("Setpoint", &setpoint, 5, 35, 1);
dash.led("Heating", &heating);               // relay 1
dash.led("Cooling fan", &fan);               // relay 2 — auto-cooling
dash.led("Overheat!", &overheat);            // buzzer + red LED
dash.toggle("Hold", &hold);
dash.beginAP("RisalDash-Thermostat", "12345678");
The shipped example (examples/04_Templates/Thermostat) runs on the fake day/night
room from RisalFakeEnv, so both sides of the hysteresis fire while you
watch: mornings heat, afternoons overshoot and the fan spins up. Swap one line for a real
dht.readTemperature() and wire two relays when you're happy with the bands.
Making it a product
Persist the setpoint in NVS so it survives reboots; add MQTT + Home Assistant discovery and the thermostat shows up as a climate entity; or let an AI agent read the room and nudge the setpoint via MCP. The full room version — with motion and gas — is the room monitor build.
Tune the hysteresis bands on a fake room tonight — wire the relays later.